Hey friends!
I’m always looking for a super fun, super easy craft for my kids to do. Sometimes, though, we get started and then I realize it isn’t as super fun or as super easy as I thought it would be. This is one of those crafts. In theory, it looked fun and easy, but in reality, there was a lot of waiting time and it was pretty involved as far as parental supervision would be concerned. I’m kind of glad I did a trial run of this one, for sure!
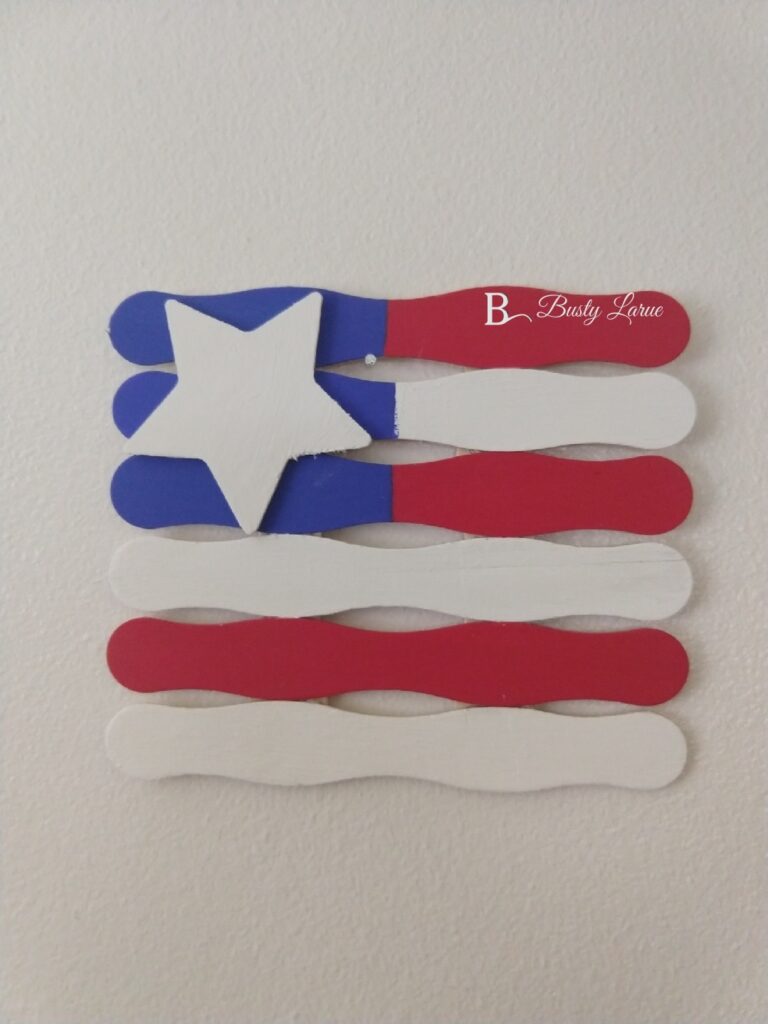
I’ve seen several tutorials online for pieces similar, but I decided to do mine a little differently. Here’s how I made my Wavy Sticks American Flag!
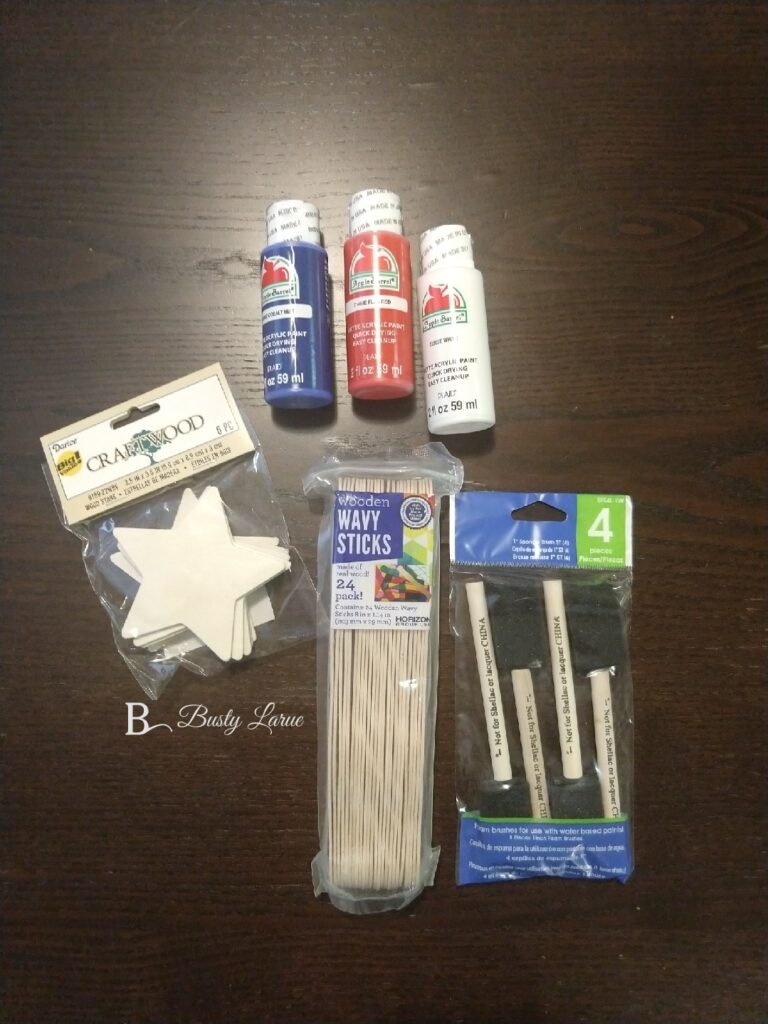
SUPPLIES:
- Wavy Craft Sticks – you’ll need 8 to complete this project
- Craft Paint in Red, White, and Blue
- Paint Brushes
- Wooden Craft Star
- Hot Glue Gun
A few notes on the supplies:
- I bought everything for this project at Walmart. It was pretty cheap.
- The most expensive items were the wavy craft sticks ($3) and the wooden craft stars (around $2-3, if I remember right)
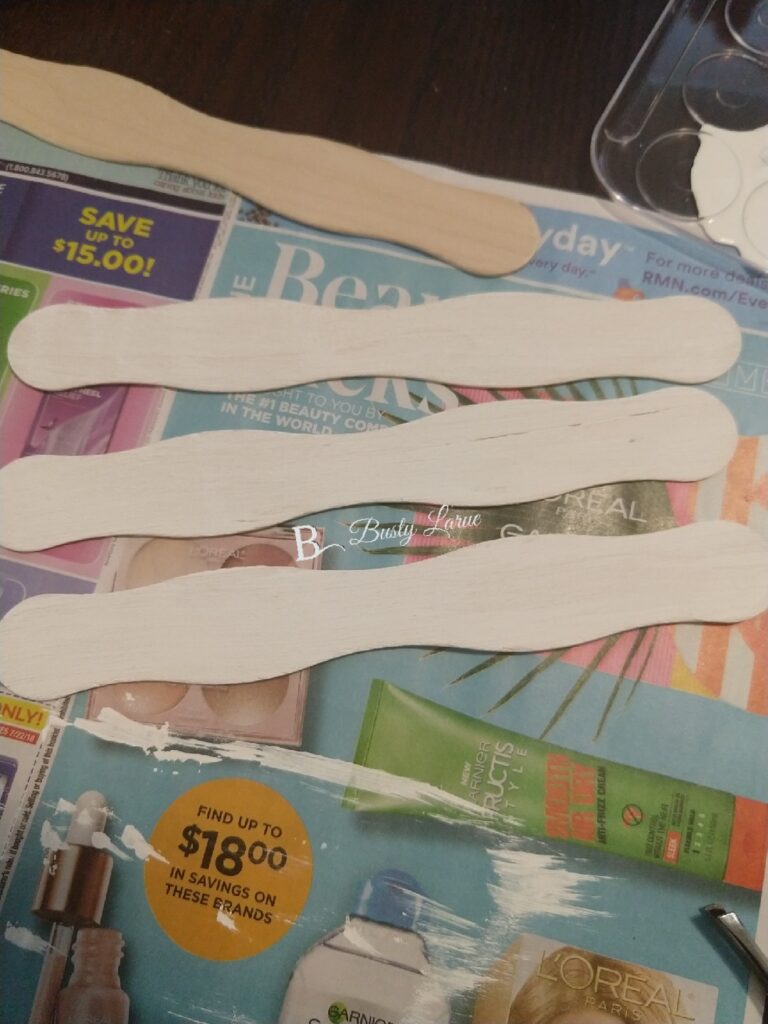
PAINTING THE CRAFT STICKS
- You’ll need 6 of the wavy sticks.
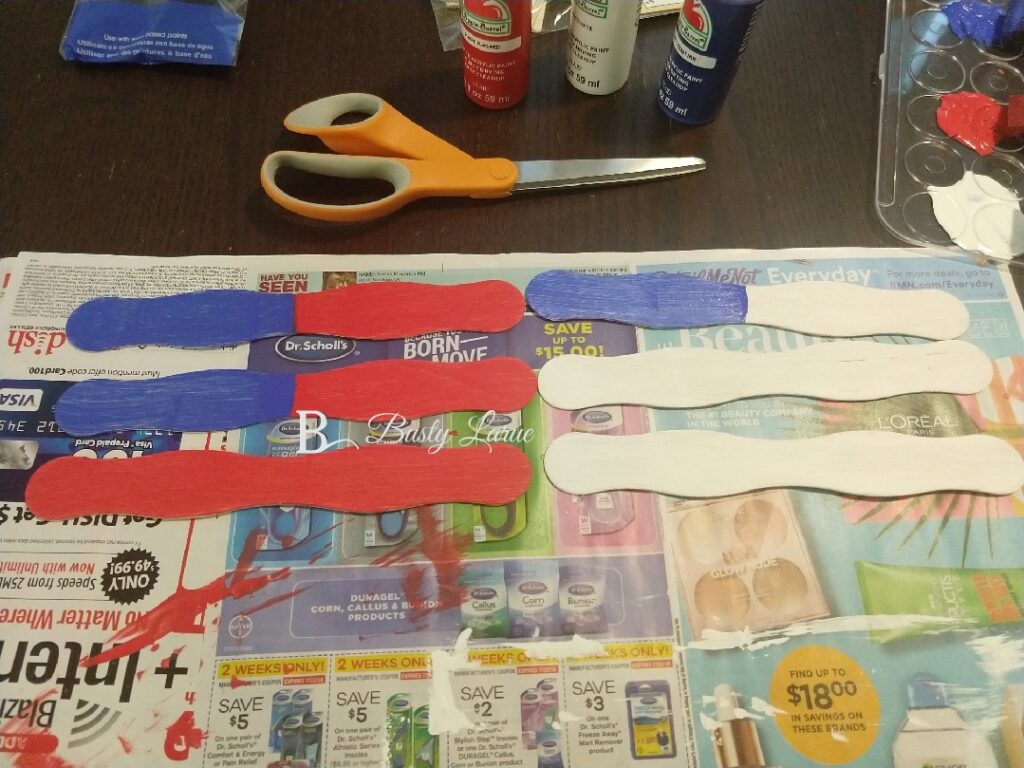
- Paint 3 white
- Paint 1 red
- Paint the other 2 half red, half blue – but WAIT! More instructions to follow on this one!
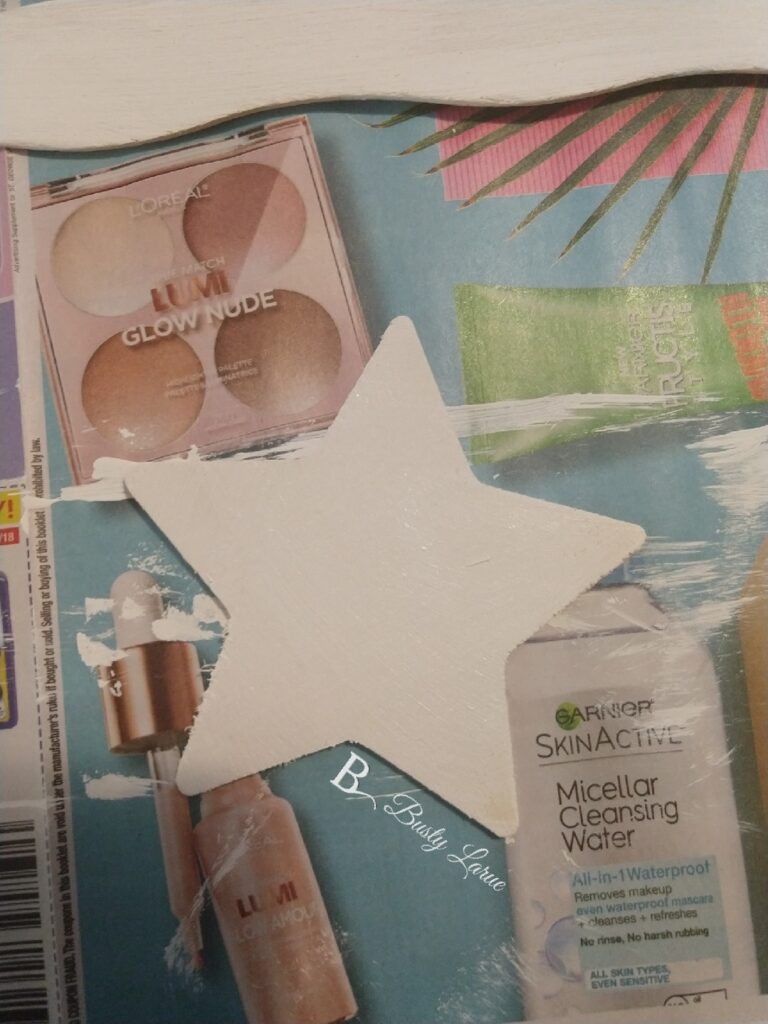
- Paint the craft star white
MAKING THE FIELD OF BLUE
- Line up the 3 sticks that will be half blue and half another color (red or white).
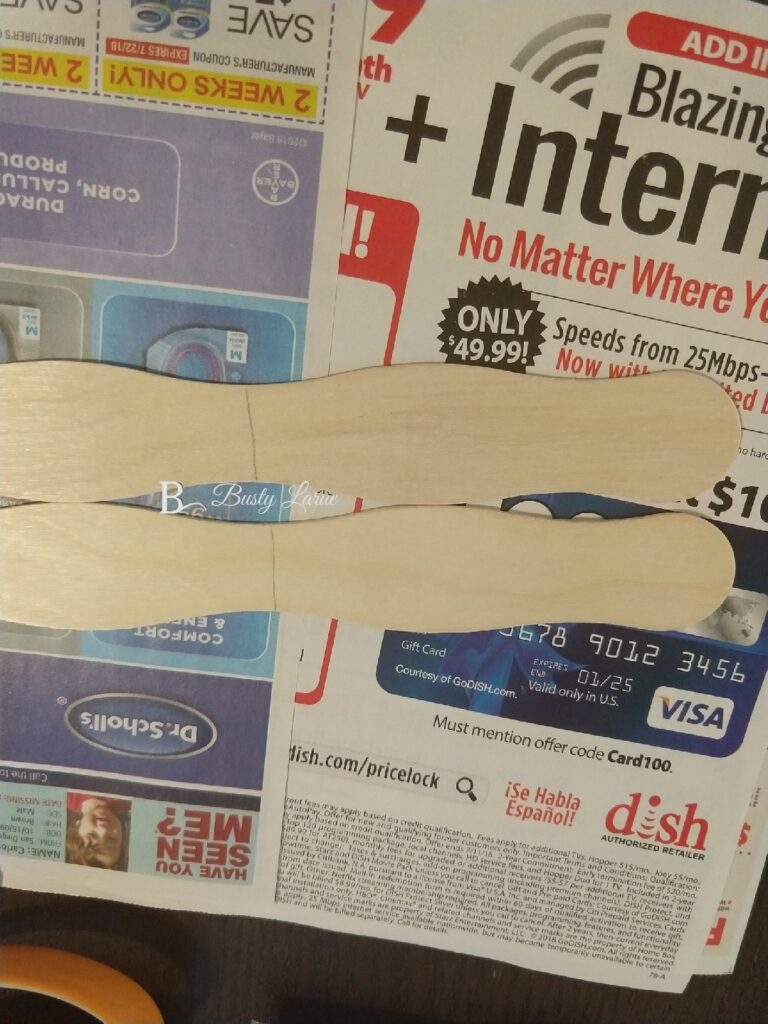
- Eyeball where you want your field of blue to end.
- If you want it to be exact, you can use a ruler and measure, but I just drew a line approximately where I wanted it to go that was close on all 3 sticks.
- Paint the left half of these sticks blue, and the right half either red or white.
- If you painted 3 sticks white, as in the steps above, just add another coat of white on.
The paint I used said to wait 1 hr between coats, but I really probably only waited about 30 minutes. I did a total of 3 coats. Be careful when you paint the field of blue to make sure that you keep the line fairly even across all three sticks.
It’s starting to come together now! This is where I let everything dry overnight, or if you’re doing this in the afternoon, at least a few hours. You want it to be super dry when you hot glue on the back supports. But, before we can glue the supports on, we have to measure them!
MAKING THE BACK SUPPORTS
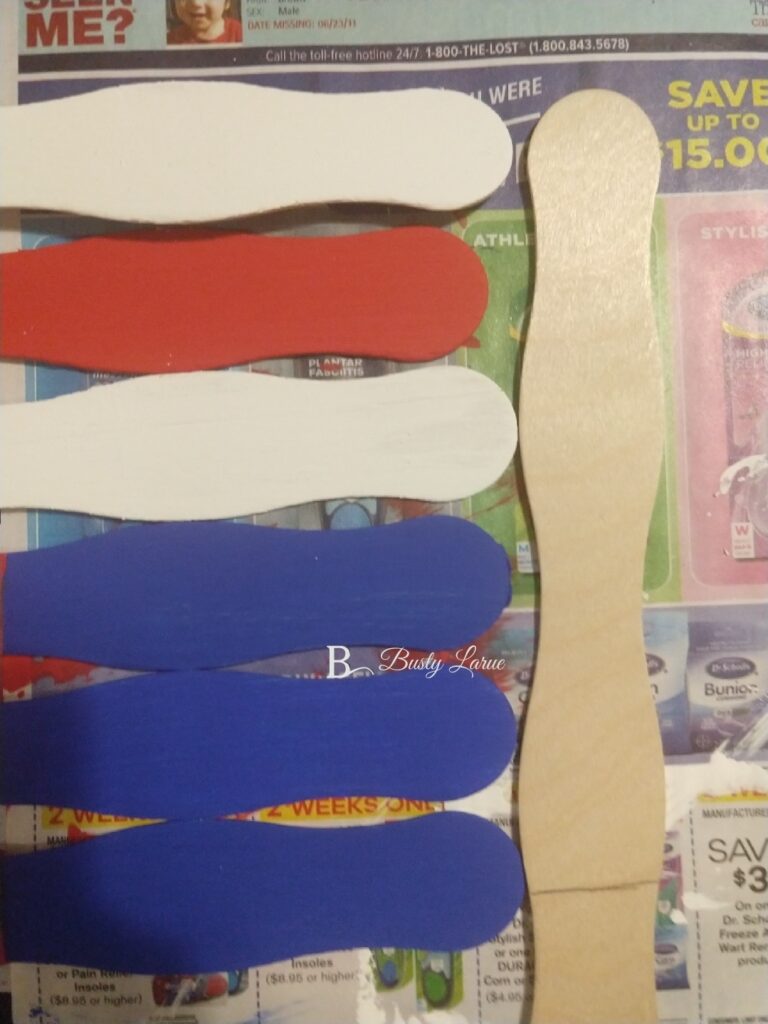
- Line your sticks up the way they’re going to be when you put it all together.
- Alternate red and white stripes, and make sure you have the blue on the left side!
- Lay another stick next to the flag. This is your back support
- Mark just above the bottom of the last wavy stick. You don’t want your support sticks hanging out from behind.
- Cut off the excess at the line you marked.
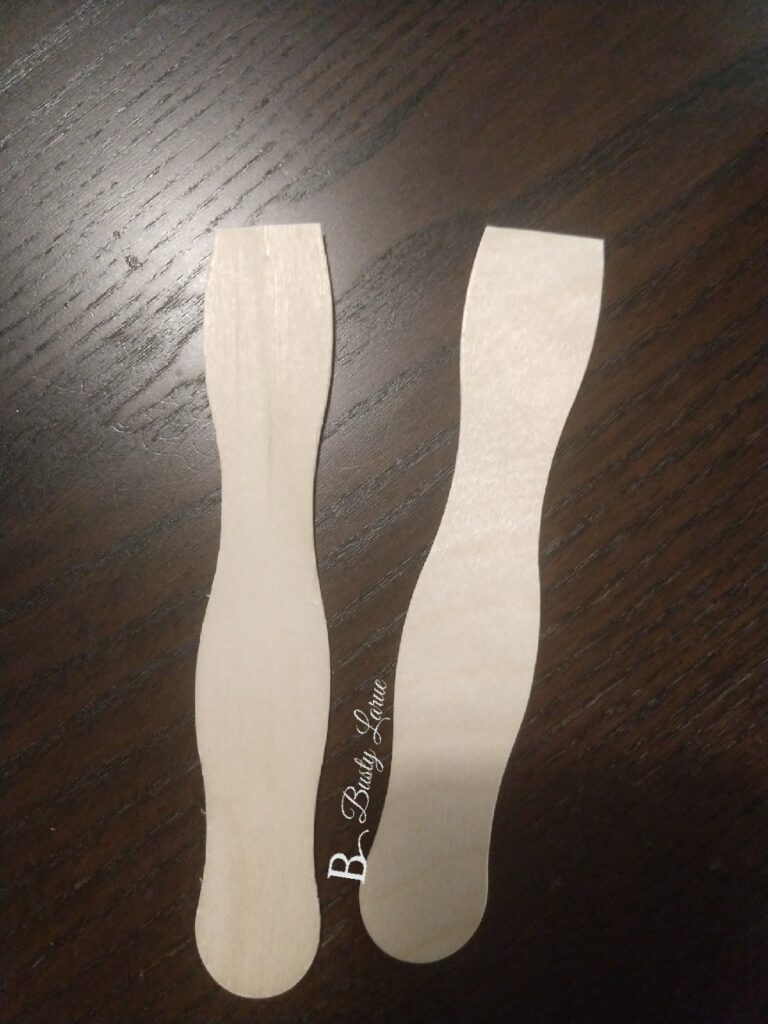
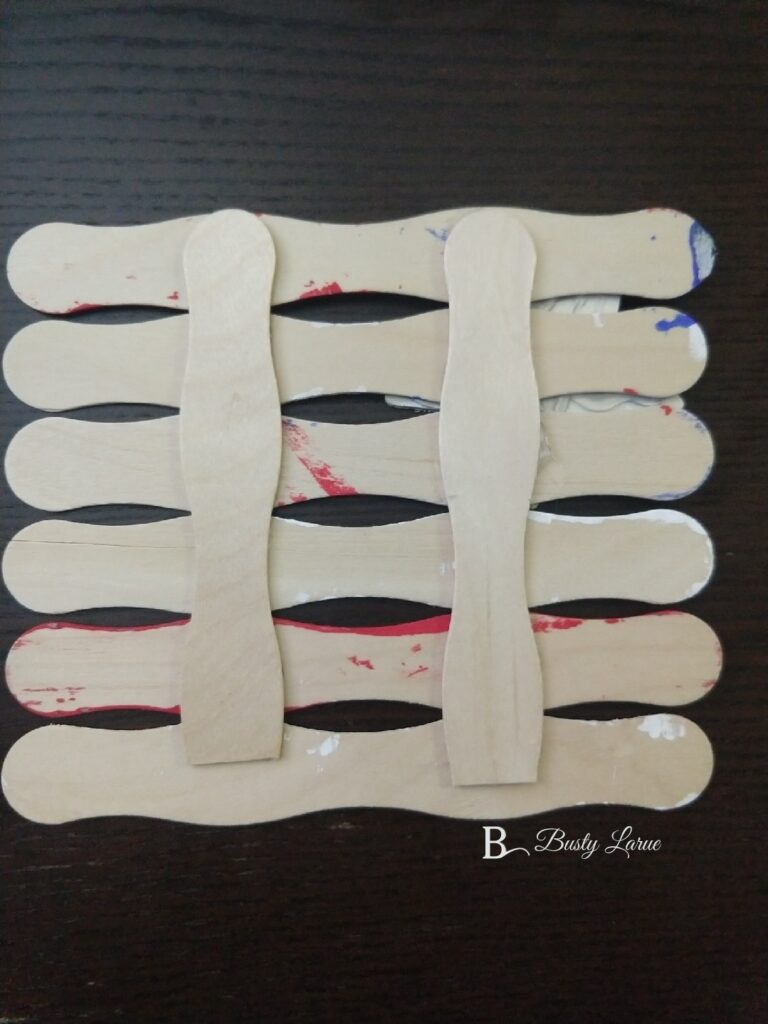
Now we’re going to hot glue them together. If you don’t want much of the back supports showing through (since we didn’t paint them at all), then you’ll want to make sure you’re gluing them on at the fat part of the curvy sticks.
This is really important: MAKE SURE YOUR BLUE IS ON THE CORRECT SIDE WHEN YOU START GLUING!! (Yes, I may have had a mini heart attack when I started because I thought I did it backwards.) When you’re done, it’ll look like this:
Glue the white star onto the field of blue. Once the glue is dried, you’re done!
There are lots of ways you can hang this. If you want a fun decoration for your fridge, I’d recommend gluing 2 magnets onto the support sticks on the back. Or, you can glue a small dowel across and tie some jute/twine around it to hang. Me? I just hung mine on a little nail I had in my wall.
It’s definitely a fun craft, but one that the kids probably wouldn’t stick with through to the end. All that waiting for paint to dry will probably drive my kiddos crazy, so I won’t be making more of these for them. But, I now have a fun flag to hang on my wall! Have you tried this craft, or something similar? I’d love to hear about them in the comments!
XOXO,


