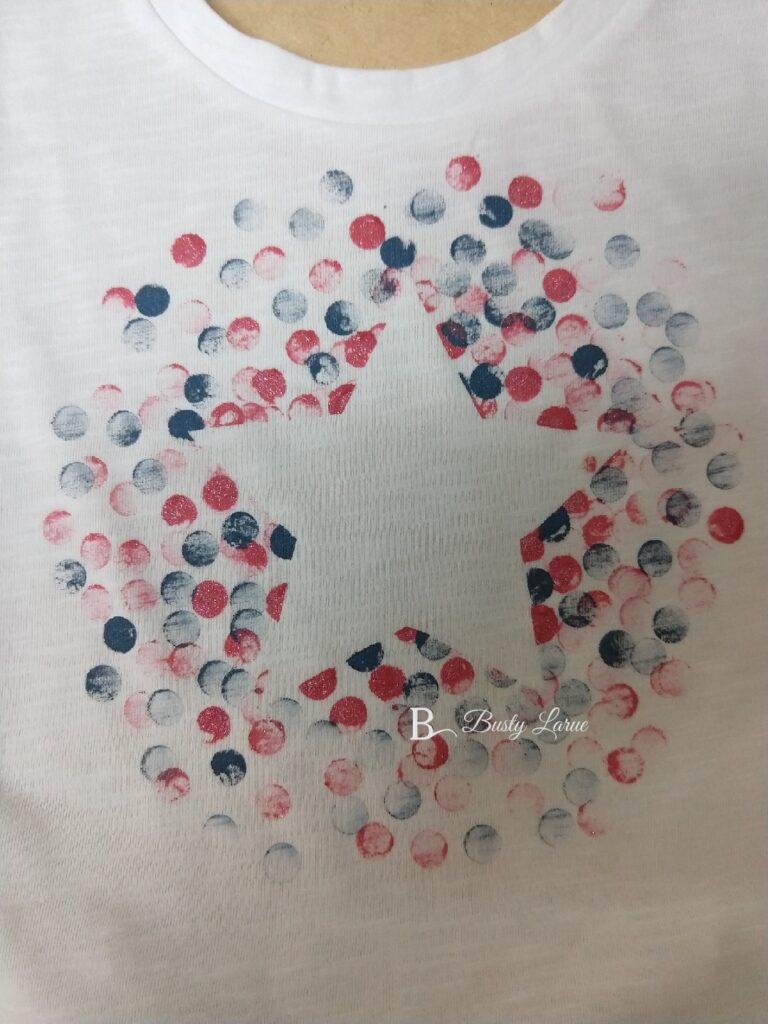
Hey friends!
Here in Utah, we like to celebrate America for the entire month of July. Actually, we have Pioneer Day on July 24th, but we keep all of our Americana decor up all month to celebrate.
Pioneer Day celebrates the day when the pioneers arrived in Utah and settled the area. In the city I live in, we also have our annual city celebration: Fiesta Days. So it’s like double celebrations.
Each summer I usually buy my kids a patriotic outfit to wear during the July celebrations in town. This year I couldn’t find anything that I loved, so I didn’t get anything for the 4th of July for my kids to wear (plus, my son was at Stadium of Fire in his scouting uniform, so he wouldn’t have gotten to wear it anyway).
About 4 years ago, I saw a photo of a cute fabric painted t-shirt someone had made for their child. It looked easy enough, and I’d just gotten a Silhouette Cameo so I made my own using a vinyl sticker. I made them large, so they could grow into them. Well, my kids are small-ish, and so they just barely outgrew them this last winter! I figured, it was time to pull out the fabric paint and make them again! My current laptop doesn’t have my Silhouette Cameo software on it yet, so I had to figure out a work around. I’ve used freezer paper before in a pinch, so that’s what I did (see below) this time.
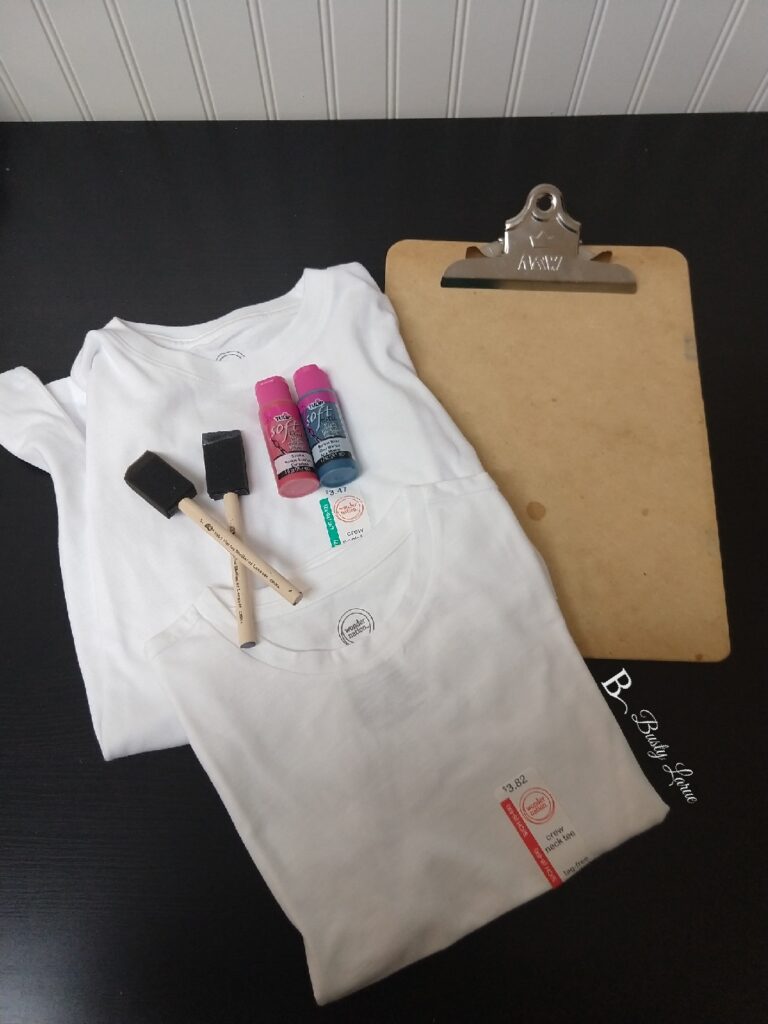
SUPPLIES:
- Solid color t-shirt in your child’s size
- Fabric paint in red and blue (you can add in white if you’re doing a shirt colored other than white)
- Foam paint brushes
- Cardboard or something to put in the shirt so the paint doesn’t bleed through
- Freezer Paper
A few notes about the supplies I used:
- I bought my t-shirts from Walmart. They are tagless, Wonder Nation brand. I paid less than $4 each at the time of purchase. They feel really nice, and I’ve always been pleased with the Wonder Nation quality since Walmart picked up this brand.
- I used Tulip brand fabric paint. I’ve used it before, and it washes well.
- I used a clipboard to separate the layers of my t-shirts. The paint will bleed through a little, so you don’t want it to get on the back of the shirt. A piece of cardboard, cereal box, whatever you have will work fine for this, though. It just happens that is what I had lying around at the time.
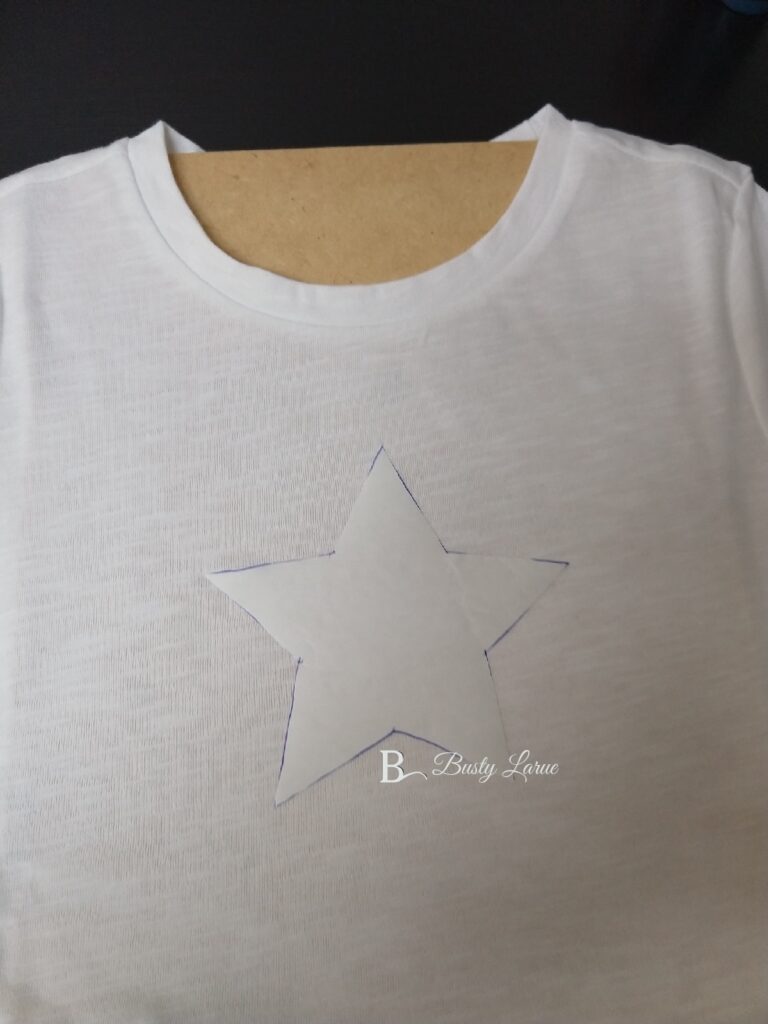
PREPARING THE T-SHIRTS
- First, you need to cut out a star shape from the freezer paper. You can print out a clip-art online or freehand it yourself.
- Like I said earlier, the last time I made these I used my Silhouette Cameo and cut out star shapes from vinyl. This was super fast and easy, but if you don’t have that option, freezer paper is a great substitute.
- Iron the star onto the front of the shirt where you want it.
- Make sure you iron the shiny side down. This will adhere the paper to the fabric while you’re painting.
- Insert the cardboard or clipboard into the shirt to separate the front from the back and prevent bleed through.
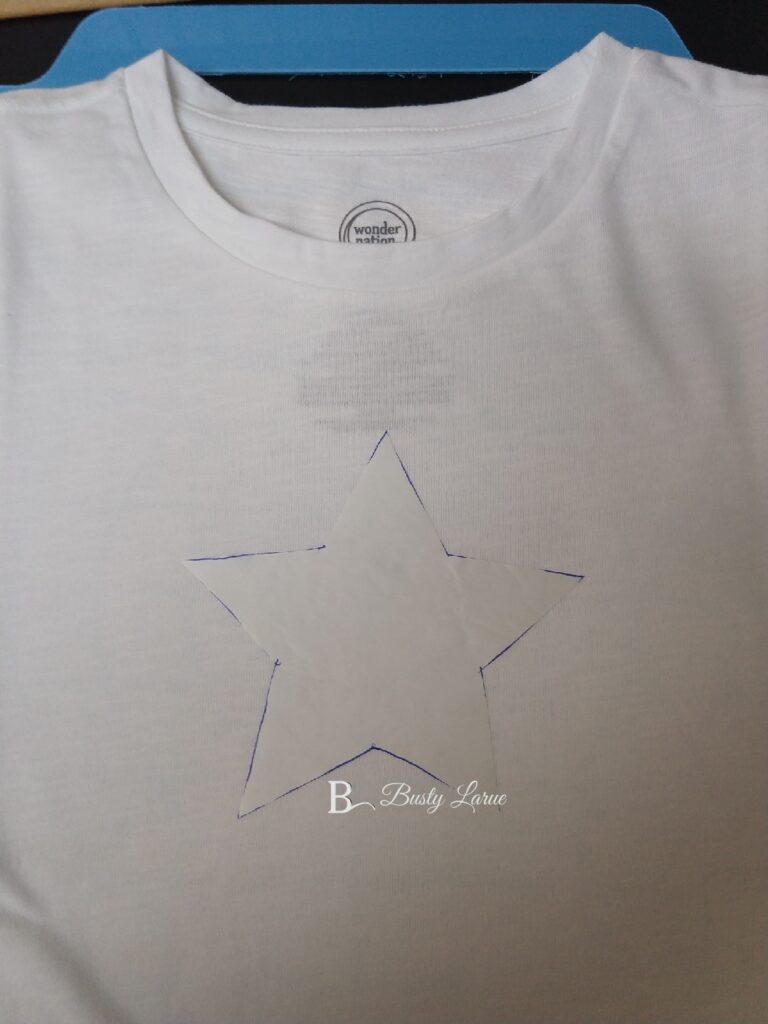
PAINTING THE T-SHIRTS
- Using the bottom end of a foam paintbrush (or anything small and round that you have on hand), dab it in the first color and then dot it across the t-shirt.
- Make sure you do a few dots along the edge of the star – you’ll see why in a mintue!
- Using your other brush, repeat step 1 with the remaining color.
- I like to do heavier dots with thicker paint along the edges of the star, then bloom outwards getting fainter and farther apart for a dispersed effect.
NOTE: Follow your fabric paint’s instructions for setting the paint. Tulip brand says to let it dry for 4 hours and then wash inside out after 72 hours.
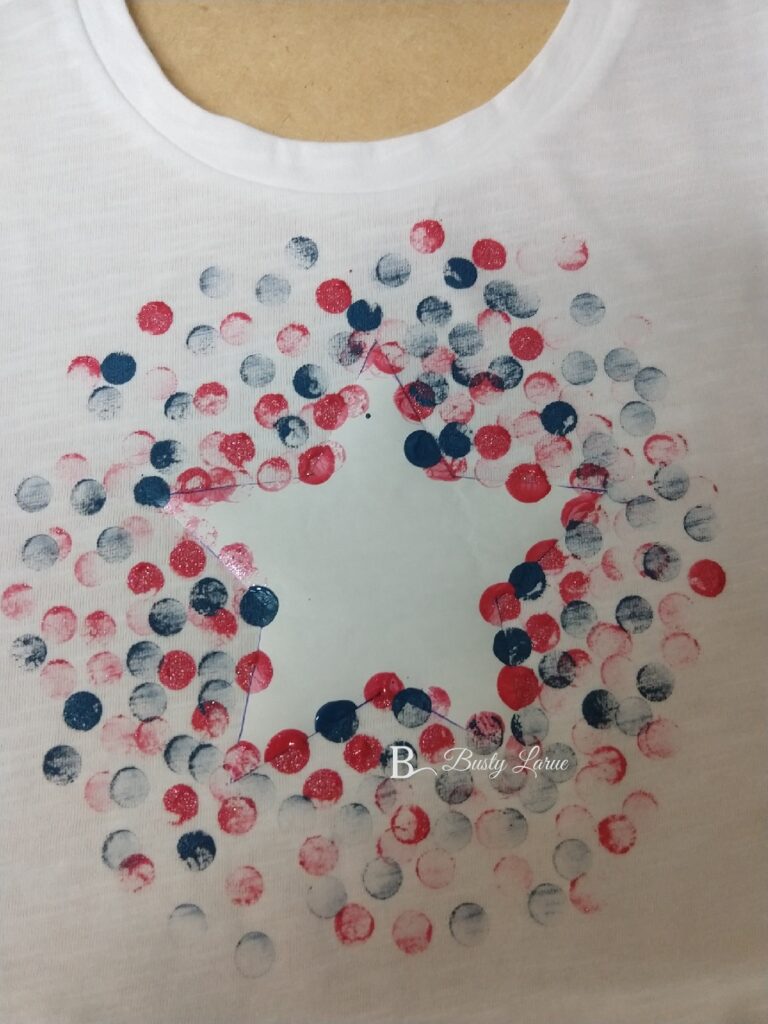
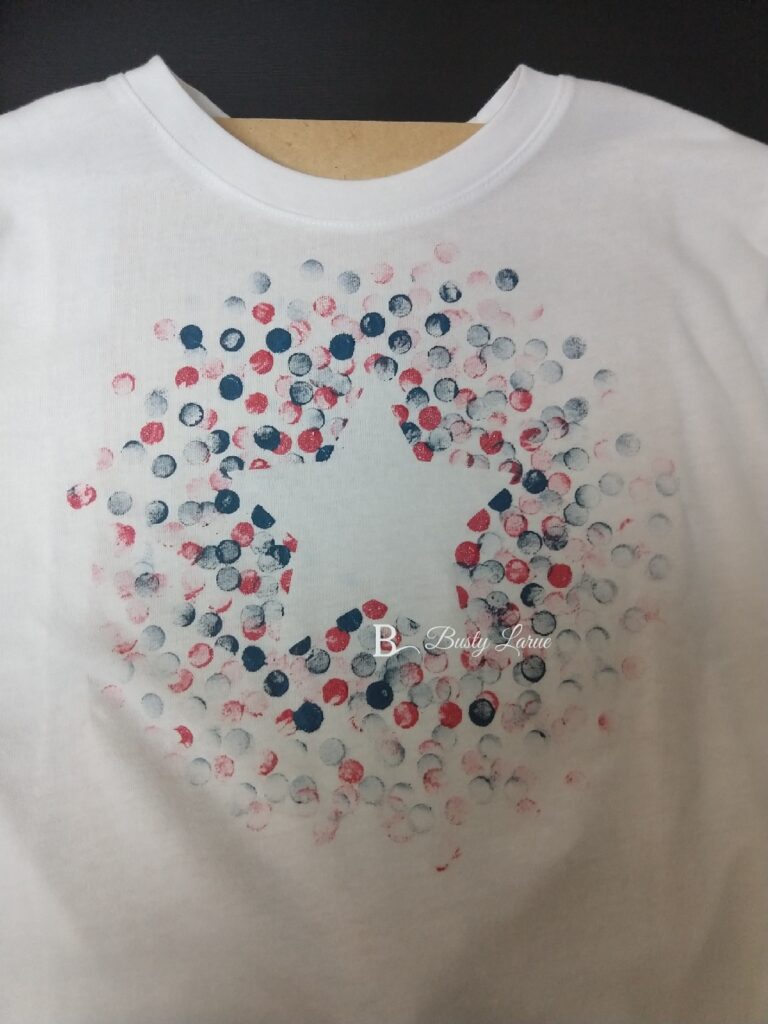
This is the hardest step by far: LET THE PAINT DRY COMPLETELY before taking the freezer paper off the shirt. Peel the freezer paper off, and then you’re good to go.
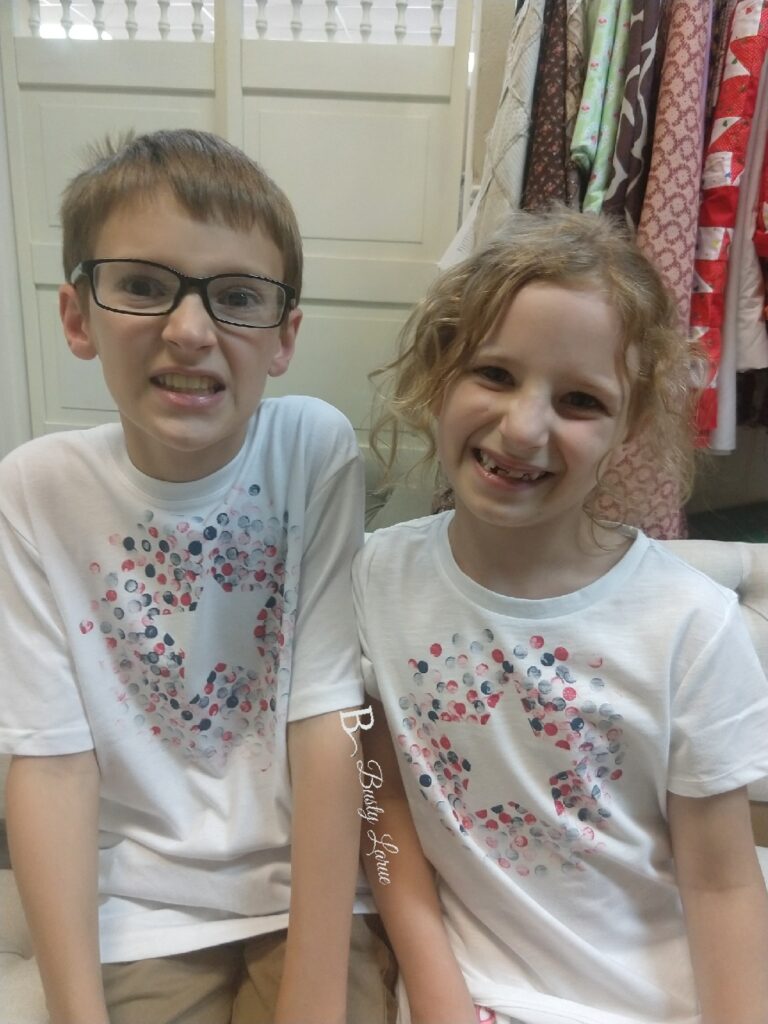
Don’t my kiddos look so excited to be wearing their new, matching shirts?! I love this technique. It’s super easy, and you can do it with any shape. I think I might make some with pumpkins for Halloween!
What shapes do you want to see me try? What holiday should I do next? Vote in the comments!
XOXO,

